spring boot yml에 있는 상수 값 불러오기
상수 값들을 yml파일로 관리하고 싶을 때?
다음과 같이 두 가지 방법으로 진행이 가능하다.
- application.yml파일에 설정
- 별도 이름.yml에 설정
[첫번째 방법]application.yml파일에 설정
- 다음과 같이 application.yml에 van.name의 값을 기록한다.
van:
  name: van
- class파일을 생성후 다음과 같이
Configuration,ConfigurationProperties어노테이션을 추가한다.
import org.springframework.boot.context.properties.ConfigurationProperties;
import org.springframework.context.annotation.Configuration;

@Configuration
@ConfigurationProperties(prefix = "van")
public class ApplicationYamlRead {

}
- 필드 setter를 통해서 값 주입을 진행한다.
import org.springframework.boot.context.properties.ConfigurationProperties;
import org.springframework.context.annotation.Configuration;

@Configuration
@ConfigurationProperties(prefix = "van")
public class ApplicationYamlRead {
    private String name;

    public String getName() {
        return name;
    }

    //application.yml의 van.name을 set해준다.
    public void setName(String name) {
        this.name = name;
    }
}
- 테스트 코드를 작성한다.
import org.junit.jupiter.api.Test;
import org.springframework.beans.factory.annotation.Autowired;
import org.springframework.boot.test.context.SpringBootTest;

import static org.assertj.core.api.Assertions.assertThat;

@SpringBootTest
class ApplicationYamlReadTest {
    @Autowired
    private ApplicationYamlRead applicationYamlRead;

    @Test
    void yamlFileTest() {
        String name = applicationYamlRead.getName();

        System.out.println("My name is " + name);
        assertThat(name).isEqualTo("van");
    }
}
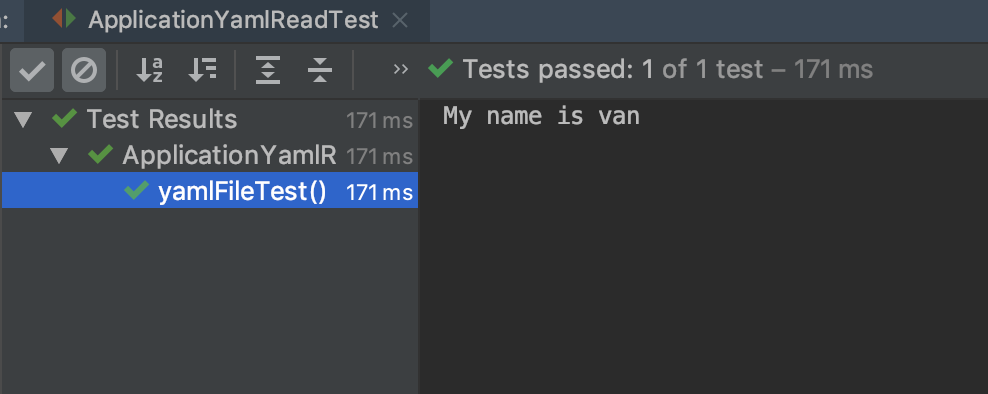
실행 결과
[두번째 방법] 별도 yml파일에 저장
- van.yml에 다음과 같이 my.age를 저장한다
my:
  age: 300
- class파일을 생성후 다음과 같이
Configuration,PropertySource,ConfigurationProperties어노테이션을 추가한다.
import org.springframework.boot.context.properties.ConfigurationProperties;
import org.springframework.context.annotation.Configuration;
import org.springframework.context.annotation.PropertySource;

@Configuration
//value를 통해 값이 있는 위치를 명시해준다.
@PropertySource(value = "classpath:van.yml")
@ConfigurationProperties(prefix = "upload")
public class VanYamlRead {

}
[중요!] PropertySource에 yml을 read할 수 있는 factory가 없기 때문에 임의로 생성을 해주어야 한다!
- 다음과 같이 YamlPropertySourceFactory.class을 생성해준다.
 import org.springframework.beans.factory.config.YamlPropertiesFactoryBean;
import org.springframework.core.env.PropertiesPropertySource;
import org.springframework.core.env.PropertySource;
import org.springframework.core.io.support.EncodedResource;
import org.springframework.core.io.support.PropertySourceFactory;
import org.springframework.lang.Nullable;

import java.io.FileNotFoundException;
import java.io.IOException;
import java.util.Properties;

//PropertySourceFactory를 상속받아 구현한다.
public class YamlPropertySourceFactory implements PropertySourceFactory {

    @Override
    public PropertySource<?> createPropertySource(@Nullable String name, EncodedResource resource) throws IOException {
        Properties propertiesFromYaml = loadYamlIntoProperties(resource);
        String sourceName = name != null ? name : resource.getResource().getFilename();
        return new PropertiesPropertySource(sourceName, propertiesFromYaml);
    }

    private Properties loadYamlIntoProperties(EncodedResource resource) throws FileNotFoundException {
        try {
            YamlPropertiesFactoryBean factory = new YamlPropertiesFactoryBean();
            factory.setResources(resource.getResource());
            factory.afterPropertiesSet();
            return factory.getObject();
        } catch (IllegalStateException e) {
            // for ignoreResourceNotFound
            Throwable cause = e.getCause();
            if (cause instanceof FileNotFoundException)
                throw (FileNotFoundException) e.getCause();
            throw e;
        }
    }
}
- PropertySource의 factory설정을 통해 YamlPropertySourceFactory.class를 명시해준다.
import org.springframework.boot.context.properties.ConfigurationProperties;
import org.springframework.context.annotation.Configuration;ß
import org.springframework.context.annotation.PropertySource;

@Configuration
@PropertySource(value = "classpath:van.yml", factory = YamlPropertySourceFactory.class)
@ConfigurationProperties(prefix = "my")
public class VanYamlRead {

}
- setter를 통해 값 주입을 진행한다.
import org.springframework.boot.context.properties.ConfigurationProperties;
import org.springframework.context.annotation.Configuration;
import org.springframework.context.annotation.PropertySource;

@Configuration
@PropertySource(value = "classpath:van.yml", factory = YamlPropertySourceFactory.class)
@ConfigurationProperties(prefix = "my")
public class VanYamlRead {
    private String age;

    public String getAge() {
        return age;
    }

    public void setAge(String age) {
        this.age = age;
    }
}
- 테스트 코드를 작성한다.
import org.junit.jupiter.api.Test;
import org.springframework.beans.factory.annotation.Autowired;
import org.springframework.boot.test.context.SpringBootTest;

import static org.assertj.core.api.Assertions.assertThat;

@SpringBootTest
class VanYamlReadTest {
    @Autowired
    private VanYamlRead vanYamlRead;

    @Test
    void name() {
        String age = vanYamlRead.getAge();

        System.out.println("My age is " + age);
        assertThat(age).isEqualTo("300");
    }
}
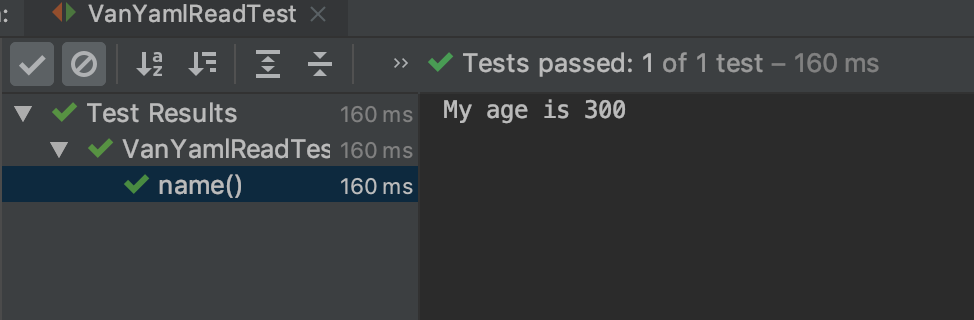
실행 결과
정리
- 상수 값들은 application.yml이 아닌 별도 yml파일에 정리하는 것이 나중에 확인이 더 쉽다고 생각은 한다. 하지만 YamlFactory를 직접적으로 생성해 주어야 한다는 점은 불편한 점이다. 만약 application.yml이 아닌 다른 파일로 관리를 하게되다면 .properties파일을 사용하지 않을까 싶다.